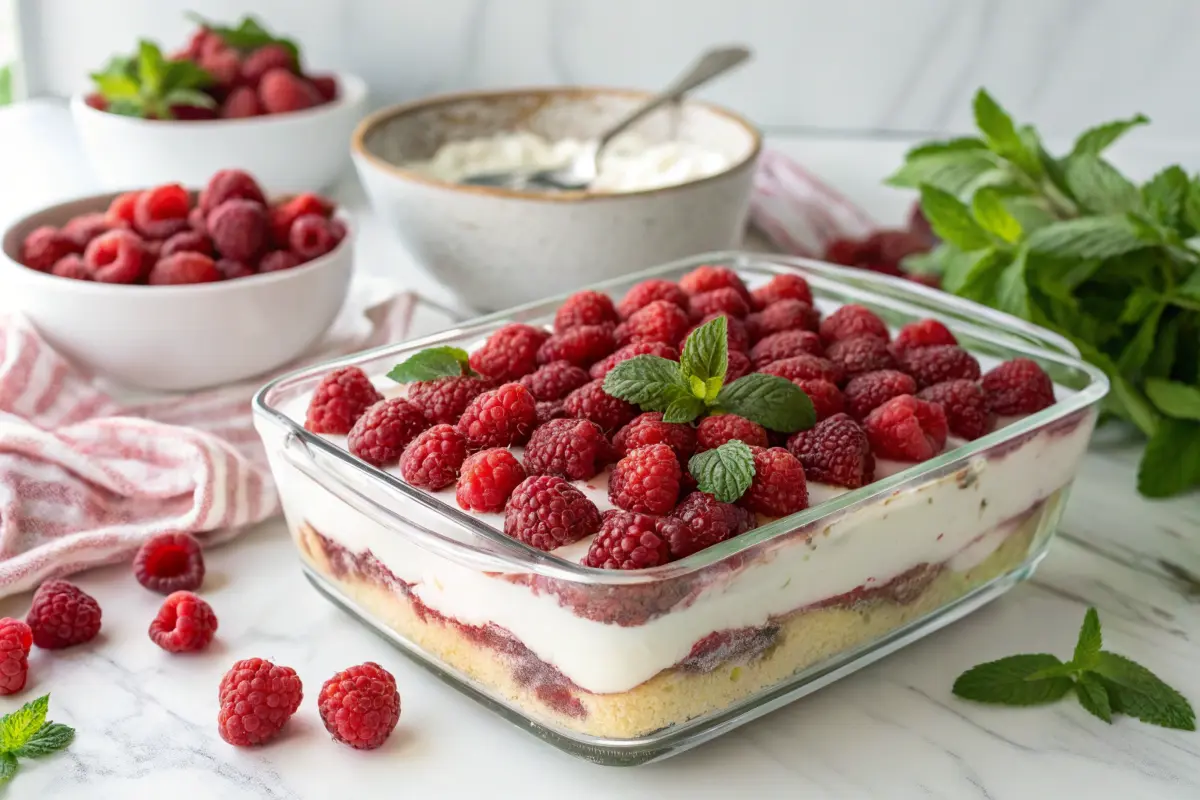
Raspberry Tiramisu: 7 Amazing Layers of Decadence
Raspberry tiramisu is a dessert that never fails to impress. Whether you’re hosting a dinner party or simply treating yourself, this recipe is a game-changer. I first fell in love with it during a summer gathering, where its vibrant raspberry layers stole the show. Since then, it’s become my go-to dessert for any occasion.
This recipe is perfect for busy home cooks who want a no-fuss, no-bake dessert that looks and tastes incredible. Furthermore, it’s versatile—whether you’re a fan of traditional tiramisu or looking for a fruity twist, this version has you covered. By the end of this guide, you’ll know how to create a stunning raspberry tiramisu that’s as easy to make as it is delicious. Trust me, your guests will be begging for seconds!
Ingredient Breakdown
To create this stunning raspberry tiramisu, you’ll need the following ingredients. Don’t worry—most are pantry staples, and substitutions are provided for flexibility.
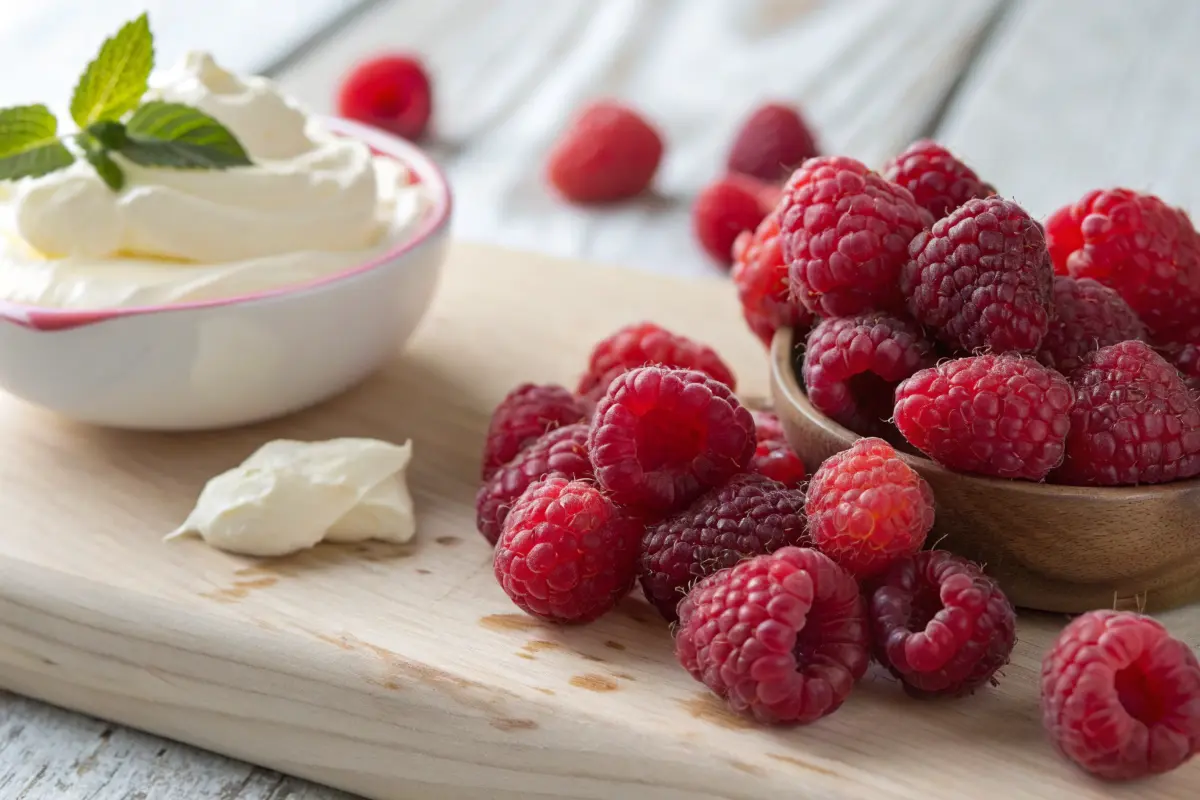
For the Raspberry Layer
- 2 cups fresh raspberries (or frozen, thawed) – Fresh berries are ideal, but frozen work well too.
- 1/4 cup granulated sugar – Adjust to taste if you prefer a less sweet dessert.
- 1 tablespoon lemon juice – Adds a bright, tangy note to balance the sweetness.
For the Mascarpone Filling
- 16 oz mascarpone cheese – Look for high-quality brands like BelGioioso for the best flavor.
- 1 cup heavy cream – Whipped to stiff peaks for a light, airy texture.
- 1/2 cup powdered sugar – Adds sweetness without graininess.
- 1 teaspoon vanilla extract – Use pure vanilla for the best flavor.
For the Coffee Soak
- 1 cup strong brewed coffee, cooled – Freshly brewed works best, but instant coffee is a fine substitute.
- 2 tablespoons coffee liqueur (optional) – Adds depth; omit for an alcohol-free version.
Additional Ingredients
- 24 ladyfingers (savoiardi) – These delicate cookies are essential for the classic tiramisu texture.
- Fresh raspberries and mint leaves – For garnish and a pop of color.
- Cocoa powder – For dusting; use unsweetened for a balanced finish.
Step-by-Step Instructions
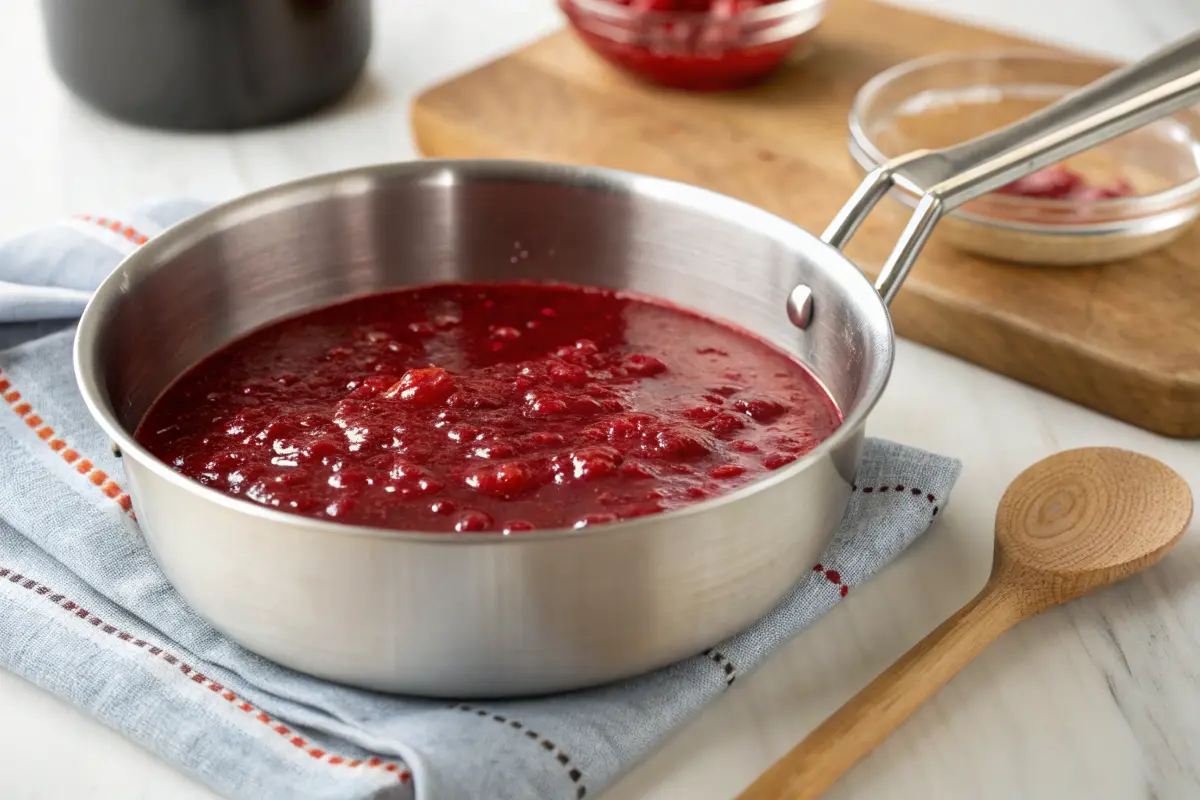
Step 1: Prepare the Raspberry Sauce
- In a medium saucepan, combine the raspberries, sugar, and lemon juice.
- Cook over medium heat, stirring occasionally, until the raspberries break down and the mixture thickens (about 10 minutes).
- Strain the sauce through a fine-mesh sieve to remove seeds, then let it cool completely.
Step 2: Make the Mascarpone Filling
- In a large bowl, whisk the mascarpone cheese until smooth and creamy.
- In a separate bowl, whip the heavy cream, powdered sugar, and vanilla extract until stiff peaks form.
- Gently fold the whipped cream into the mascarpone until fully combined. Be careful not to overmix, as this can deflate the mixture.
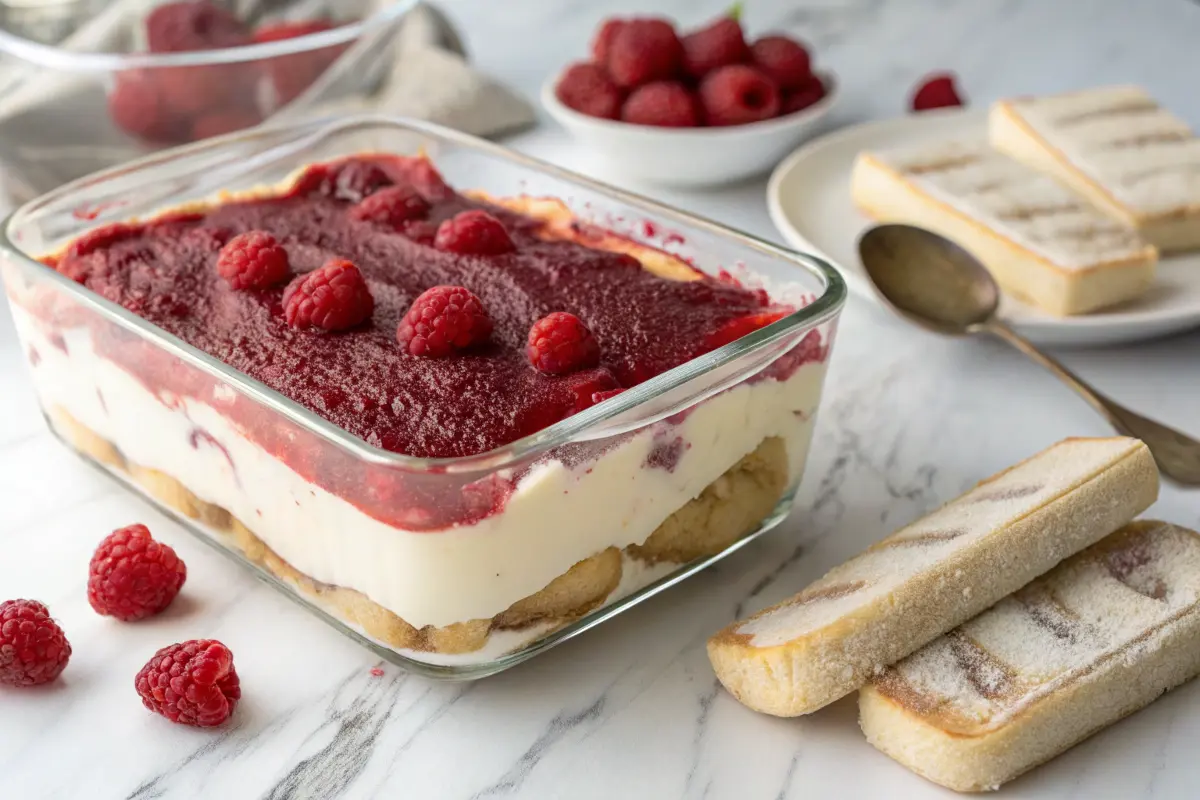
Step 3: Assemble the Tiramisu
- Dip each ladyfinger into the cooled coffee mixture for 1–2 seconds, ensuring they’re moist but not soggy.
- Arrange a single layer of soaked ladyfingers at the bottom of your serving dish.
- Spread half of the mascarpone filling evenly over the ladyfingers.
- Drizzle half of the raspberry sauce over the mascarpone layer, using a spoon to create swirls for a marbled effect.
- Repeat the layers: ladyfingers, mascarpone filling, and raspberry sauce.
Step 4: Chill and Serve
- Cover the tiramisu with plastic wrap and refrigerate for at least 4 hours, or preferably overnight. This allows the flavors to meld and the dessert to set.
- Before serving, dust the top with cocoa powder and garnish with fresh raspberries and mint leaves.
Pro Tips for Success
- Use Fresh Ingredients: Fresh raspberries and high-quality mascarpone make a noticeable difference in flavor.
- Adjust Sweetness: Taste the raspberry sauce and mascarpone filling as you go, adding more sugar if needed.
- Make Ahead: This dessert tastes even better the next day, making it ideal for prepping in advance.
By following these steps, you’ll create a raspberry tiramisu that’s not only visually stunning but also bursting with flavor. Now, let’s move on to some creative variations to make this recipe your own!
For more tips on assembling tiramisu, check out this Tiramisu Guide from Allrecipes.
Nutrition Facts
Here’s a breakdown of the nutritional information for one serving of raspberry tiramisu. While this dessert is indulgent, it’s worth every bite!
| Nutrient | Amount per Serving |
|---|---|
| Calories | 350 |
| Total Fat | 22g |
| Saturated Fat | 13g |
| Cholesterol | 120mg |
| Sodium | 80mg |
| Total Carbohydrates | 30g |
| Dietary Fiber | 2g |
| Sugars | 18g |
| Protein | 6g |
Dietary Notes:
- Gluten-Free Option: Use gluten-free ladyfingers to accommodate dietary restrictions.
- Lower-Calorie Version: Substitute heavy cream with Greek yogurt and reduce the sugar in the raspberry sauce.
Pro Tips / Variations
Common Mistakes to Avoid
- Over-Soaking Ladyfingers: Dip them briefly to avoid a soggy texture.
- Overmixing Mascarpone Filling: Fold gently to maintain a light, airy consistency.
- Skipping the Chill Time: Refrigeration is crucial for the flavors to meld and the dessert to set properly.
Quick Hacks for Busy Cooks
- Use Store-Bought Raspberry Jam: Skip the homemade sauce and opt for a high-quality raspberry jam.
- Pre-Made Ladyfingers: Save time by purchasing pre-made ladyfingers instead of baking them from scratch.
Flavor Swaps for Different Diets
- Vegan Raspberry Tiramisu: Replace mascarpone with vegan cream cheese and use plant-based ladyfingers.
- Low-Sugar Option: Use a sugar substitute like stevia or monk fruit in both the raspberry sauce and mascarpone filling.
- Chocolate Lovers’ Twist: Add a layer of chocolate ganache between the mascarpone and raspberry layers for extra decadence.

Serving Suggestions & Pairings
Plating Tips
- Individual Portions: Serve in small glass jars or ramekins for a personalized touch.
- Garnish Creatively: Add a sprig of mint, a dusting of cocoa powder, or a few extra raspberries for a restaurant-worthy presentation.
Complementary Pairings
- Coffee or Espresso: A classic pairing that enhances the coffee notes in the tiramisu.
- Dessert Wines: Try a sweet Moscato or a fruity Prosecco to complement the raspberry flavors.
- Fresh Berries: Serve with a side of mixed berries for a refreshing contrast.
Leftover Ideas
- Tiramisu Parfaits: Layer leftover tiramisu with granola and fresh fruit for a breakfast parfait.
- Frozen Treat: Freeze portions in popsicle molds for a unique raspberry tiramisu ice pop.
By following these tips and suggestions, you’ll not only master the art of making raspberry tiramisu but also elevate your dessert game to new heights. Whether you’re serving it at a party or enjoying it as a treat, this dessert is sure to impress!
Why You’ll Love This Recipe
This raspberry tiramisu is a dessert that checks all the boxes. First, it’s incredibly easy to make—no baking required, just simple assembly. Additionally, the combination of tart raspberries, creamy mascarpone, and coffee-soaked ladyfingers creates a flavor explosion that’s hard to resist.
Moreover, it’s versatile. Whether you’re hosting a fancy dinner party or craving a sweet treat after a long day, this recipe fits the bill. It’s also customizable—swap ingredients to suit dietary needs or personal preferences. Finally, it’s a showstopper. The vibrant layers and elegant presentation make it a dessert that’s as beautiful as it is delicious.
FAQ
Can I use frozen raspberries for this recipe?
Yes, frozen raspberries work perfectly for the raspberry sauce. Just thaw and drain them before cooking to avoid excess liquid.
How long does raspberry tiramisu last in the fridge?
Raspberry tiramisu can be stored in the refrigerator for up to 3 days. Keep it covered with plastic wrap to maintain freshness.
Can I make this dessert alcohol-free?
Absolutely! Simply omit the coffee liqueur and use plain coffee or a flavored syrup instead.
What’s the best way to serve raspberry tiramisu?
For the best experience, serve it chilled with a dusting of cocoa powder and fresh raspberries on top. Pair it with coffee or a dessert wine for an extra treat.
How to Store and Freeze Raspberry Tiramisu
Storing Raspberry Tiramisu
Proper storage is key to maintaining the freshness and flavor of your raspberry tiramisu. Here’s how to do it:
- Refrigeration: Cover the tiramisu with plastic wrap or place it in an airtight container. Store it in the refrigerator for up to 3 days.
- Avoid Odors: Keep it away from strongly scented foods to prevent flavor transfer.
- Serve Chilled: Always serve tiramisu cold for the best texture and taste.
Freezing Raspberry Tiramisu
If you need to store tiramisu for longer, freezing is a great option. Follow these steps:
- Wrap Tightly: Cover the tiramisu with plastic wrap, ensuring no air can get in. Then, wrap it in aluminum foil for extra protection.
- Freeze: Place the wrapped tiramisu in the freezer for up to 1 month.
- Thawing: When ready to serve, transfer the tiramisu to the refrigerator and let it thaw overnight. Avoid thawing at room temperature, as this can cause the layers to separate.
Tips for Freezing Success
- Portion Before Freezing: Cut the tiramisu into individual servings before freezing for easier thawing.
- Avoid Garnishes: Add fresh raspberries and cocoa powder after thawing to maintain their texture and flavor.
By following these storage and freezing tips, you can enjoy your raspberry tiramisu at its best, even days or weeks after making it.
Raspberry tiramisu is a dessert that combines simplicity, elegance, and incredible flavor. With its no-bake preparation and customizable ingredients, it’s perfect for both novice bakers and seasoned chefs. Whether you’re making it for a special occasion or just because, this recipe is sure to impress.
So, why not give it a try? Whip up this delightful dessert, and don’t forget to share your creations with friends and family. If you loved this recipe, explore more dessert ideas on our blog or leave a comment below with your questions and feedback. Happy cooking!
For more delicious and healthy recipes, explore our collection here.

